Replace Your DSC PowerSeries with PowerSeries NEO — Step-by-Step Guide (Austin, TX)
Replace Your DSC PowerSeries with PowerSeries NEO — Step-by-Step Guide (Austin, TX)
Upgrading an aging DSC PowerSeries to a DSC PowerSeries NEO can extend system life, improve reliability, and make monitoring easier. This guide walks Austin homeowners through the process—from safe power down to programming and final testing.
Before You Start
- Tools: small flat/Phillips drivers, wire labels/marker, needle-nose pliers, multimeter, smartphone for photos.
- Parts: DSC NEO control board/enclosure (or reuse existing can if appropriate), compatible NEO keypad (full message/alpha), new transformer, backup battery, resistors as required by your programming, and any replacement devices.
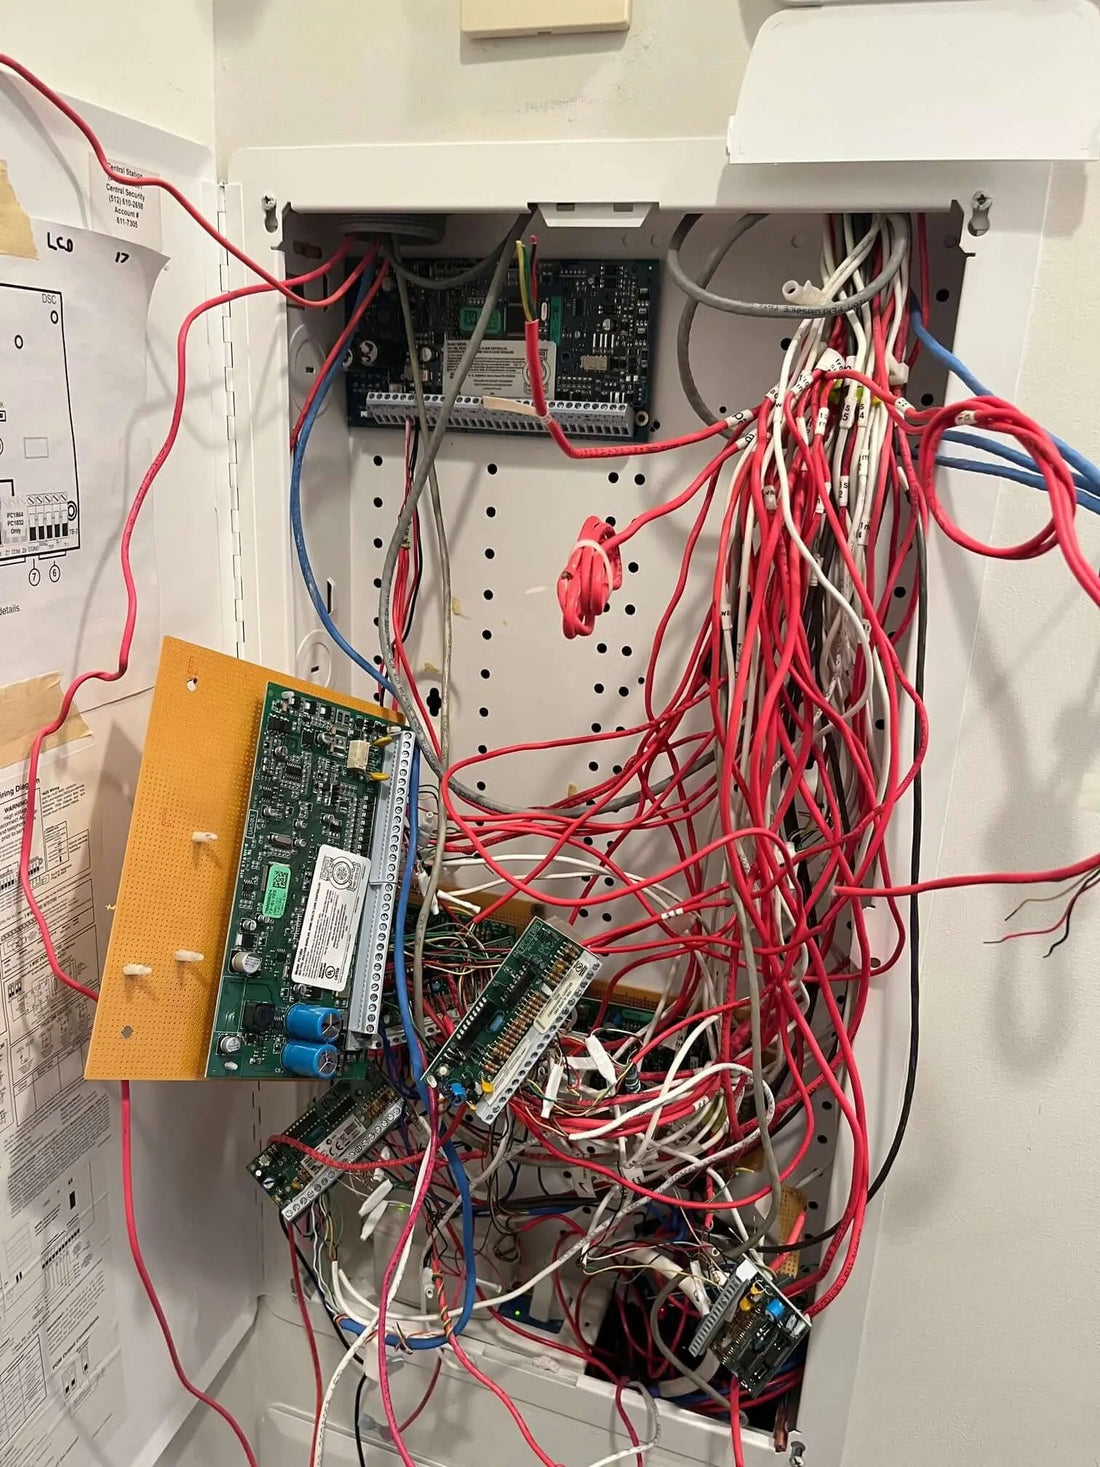
- Document existing wiring: Take clear photos of the old panel—terminals, zone labels, siren, keypad bus, auxiliary power, and PGMs.
Step-by-Step Replacement
- Power down safely. Silence the system if needed. Unplug the AC transformer from the outlet, then disconnect the backup battery. Verify panel is fully off (no LEDs on the board).
- Remove the old control board. Keep the metal can if it’s clean and sized correctly. Note how wires enter the can and how they’re dressed.
- Mount the NEO board. Use proper standoffs. Keep high-voltage (transformer leads) separated from low-voltage wiring.
-
Move wires in a clean order. Transition one circuit at a time:
- Siren/Bell output
- Keypad bus (verify conductor colors to A/B/Y/G as per NEO manual)
- PGM(s) used for outputs/triggering
- Zones: Zone 1, Zone 2, Zone 3, etc. Label each as you land it
-
Handle zone resistors correctly.
- Best practice: Use the correct EOL resistors and program zones for EOL supervision.
- If you choose no EOL, program the zone type accordingly so the panel expects normally-closed (NC) without a resistor.
- Match each zone’s programming to the wiring you install (EOL vs. no EOL) to avoid false troubles.
- Replace incompatible keypads. Old PowerSeries keypads will not work with NEO. Install a full English/alpha keypad for setup.
- Reconnect power. Install the new transformer, connect the backup battery, then plug in AC. The keypad should boot.
-
Program essentials at the alpha keypad.
- Enroll modules: 902 (module enrollment) to learn keypads/expanders.
- Wireless devices: enroll in section 804. Important: avoid powering down after enrollment to prevent re-enroll issues.
- Housekeeping: set time/date, silence troubles, enable chime if desired, and configure required options.
- Test thoroughly. Trip each zone, verify keypad annunciation and alarm behavior, confirm siren/NAC output, and restore. Test arming/disarming codes.
After the Upgrade: Monitoring & Support
Want 24/7 professional monitoring with app control and event history? Visit Monitoring options or contact us for activation in the Austin area.
Common Pitfalls (and Fixes)
- Mixed resistor strategies: Don’t wire some zones with EOL and program others as no-EOL unless you intend to—keep wiring and programming aligned.
- Wrong keypad type: Use a full message/alpha keypad for programming—icon-only keypads aren’t suitable for full setup.
- Loose AUX connections: Verify AUX+ and AUX– to powered devices (motions, glass breaks) are tight and within current limits.
- Wireless re-enroll: If you must power down after adding wireless, be ready to verify devices again.
Need a Hand?
If you run into snags, our Austin team can complete the upgrade, clean up wiring, and enable monitoring. Get help or call 512-610-2698.